A compatible motherboard starts with the right CPU socket, chipset, and BIOS. It also needs to fit your case, support your RAM, and work with your power supply. Cooler clearance, storage lanes, and front-panel headers matter too. Get these parts lined up early, and your PC build will go together with far fewer surprises.
Start With CPU and Motherboard Compatibility
When you start checking motherboard compatibility, the smartest initial step is to match your CPU to the right socket and chipset, because that one choice decides whether the whole build can even power on.
You want parts that work together, not a pile that leaves you feeling left out.
From there, focus on CPU generation matching and the board’s support list. A chipset may look close enough, but small differences can block support or require a BIOS update before the system will boot.
That’s why newer AMD 500 series boards often make life easier, while some older AMD B350 models need updates for Pinnacle Ridge chips.
Intel also shifts support often between generations, so you can’t guess.
As you compare options, check motherboard chipset features too, since they shape upgrade paths, storage support, and everyday flexibility.
Match the Socket to Your CPU
Initially, you need to match your CPU to the exact motherboard socket, because even a great processor won’t work provided the socket is wrong.
Then check chipset support, since some boards might need a BIOS update before they’ll recognize your CPU.
Provided you confirm both before you buy, you’ll save yourself stress, time, and a very annoying return.
Check CPU Socket
Because the CPU and motherboard must lock into the same socket, this is the very initial match you should check before you buy anything else.
If the socket type doesn’t match, your parts simply won’t fit, no matter how excited you’re to join the PC building crowd.
Begin with matching your CPU to the board’s listed socket, like AM4, LGA1200, or LGA1151. Then check socket keying, because the physical layout guides proper installation and helps prevent costly mistakes.
After that, confirm CPU generation support, since some sockets serve more than one chip family, but not every processor works in every board. Intel often reuses a socket across limited generations, while AMD sockets might support wider ranges.
Once you verify this initially, you build with confidence and avoid that awful “wrong part” moment.
Verify Chipset Support
One quick check can save you from a motherboard that fits your CPU on paper but still won’t run it properly: verify the chipset support. After matching the socket, you need chipset generation support too. That’s where many builders get tripped up. A board might share the right socket, yet miss your CPU without a BIOS update. You deserve a smooth build, not a mystery.
| Chipset | CPU Match | Notes |
|---|---|---|
| B350 | Ryzen Pinnacle Ridge | BIOS update may be needed |
| B550 | Ryzen 3000/5000 | Strong chipset generation support |
| Z490 | Intel 10th/11th Gen | Check chipset feature differences |
Also, chipset feature differences affect PCIe lanes, USB options, and overclocking. So, in case you want your build to feel right from day one, choose a board that fully welcomes your CPU.
Check Chipset Support Before You Buy
While a motherboard may look perfect on paper, the chipset decides whether your CPU will actually work the way you expect. Before you buy, check that the chipset supports your processor family, core features, and performance goals. Socket fit matters, but chipset generation planning helps you avoid boards that feel right yet miss what your build needs.
That’s where motherboard feature comparisons help you feel more confident and included in the PC building crowd. For AMD, newer 500 series boards like A520, B550, and X570 are safer picks for current Ryzen builds. For Intel, pay attention to platform changes, since support often shifts every couple of generations.
Also, compare PCIe version, storage lanes, USB options, and overclocking support. When your chipset matches your plans, your whole build feels like it belongs together.
Confirm BIOS Support for New CPUs
How do you avoid the sinking feeling of installing a new CPU only to find that your motherboard won’t boot? You check BIOS support before you buy. Even though the socket matches, the board might need newer firmware first. That’s where BIOS update timing matters, especially with older stock on store shelves.
- Check the motherboard maker’s vendor CPU support lists for your exact CPU model.
- Match the required BIOS version with the version printed on the box or board sticker.
- Ask whether the board supports BIOS Flashback, so you can update without an older CPU.
- Confirm whether the seller updated the BIOS already before shipping.
You’re not overthinking this. You’re building smart, avoiding stress, and joining the crowd that powers on the first time with a grin.
Check Form Factor and Case Fit
Next, you need to match your motherboard size to your case, because an ATX board won’t fit where a smaller layout belongs.
You should also check that your case supports that form factor, whether it’s ATX, mATX, or mITX, so you don’t run into a frustrating surprise during your build.
Then measure clearance space for your GPU, CPU cooler, and cables, because a tight fit can turn an exciting upgrade into a real headache.
Match Motherboard Size
Because motherboard size affects both fit and airflow, you should check the board’s form factor before you buy anything else for the case. This step helps you avoid stress, save money, and feel confident that your build belongs together. Focus on case dimensions and form factor matching initially, so every part starts on the same page.
- Pick the motherboard size initially: ATX, microATX, or Mini-ITX.
- Match that size to a case made for the same or larger board.
- Compare mounting points and interior layout before ordering.
- Use PCPartPicker or similar tools to confirm form factor matching.
This simple check keeps your build process smooth. You won’t feel stuck with parts that don’t line up. As your board size matches correctly, everything feels easier, cleaner, and more rewarding for you.
Verify Case Support
Even though your motherboard and case look compatible on paper, you still need to confirm that the case fully supports the board’s form factor, mounting points, and interior space. You want every part to belong together, not feel forced into place. Check that your case is built for ATX, Micro ATX, or Mini ITX, and make sure the standoff layout matches your board.
Next, review the case dimensions so the motherboard installs cleanly without blocking drive bays, cable routes, or front panel connections.
A well-matched case makes your build feel smoother and more confident. You should also verify cooler clearance in the case specs, because support matters just as much as size.
In case you’re unsure, use PCPartPicker or the case maker’s compatibility list. That extra check helps you build with less stress and more confidence.
Measure Clearance Space
While a motherboard might match your case on the spec sheet, you still need to measure the real clearance inside the build area so nothing crowds the board during installation. That extra check helps you build with confidence and avoid the kind of tight squeeze that makes upgrades stressful.
- Measure board length and width against standoffs and tray edges.
- Check cooler height, GPU overhang, and front fan spacing.
- Leave airflow clearance around heatsinks, headers, and top radiators.
- Plan cable routing so power leads don’t press against RAM or ports.
This step connects form factor to real fit. An ATX board may fit an ATX case, but drive cages, thick cables, or side panels can still get in the way. Once you measure first, your build feels smoother, cleaner, and truly yours.
Check RAM Compatibility
To avoid a build that boots with headaches instead of smiles, you should check RAM compatibility before you buy anything. Initially, match the board’s DDR type, supported capacity, and RAM speed limits with the memory you want. Whenever your motherboard supports DDR4, don’t invite DDR5 to the party.
Next, visit the motherboard maker’s qualified vendor list for memory kit validation. That list shows modules verified to work, which helps you feel more confident joining the PC building crowd. Then cross-check with online compatibility tools and real user reviews from similar builds. They often reveal whether a kit runs smoothly at rated speeds or needs manual tuning.
Also, confirm channel support and BIOS updates, because stable memory can make your whole system feel welcoming, reliable, and ready to belong in your setup.
Check GPU Clearance and PCIe Access
After you’ve matched your RAM, make sure your graphics card can actually fit and connect the way it should. You want every part to work together, not leave you feeling stuck after setup day. Start with the gpu length measurement, then compare it with your case space and front fan position.
Next, check pci slot alignment so the card seats cleanly without strain.
- Measure your GPU and case clearance carefully.
- Confirm the motherboard has the right PCIe x16 slot location.
- Check whether thick cards block nearby headers or lower slots.
- Make sure your PSU has the needed power connectors.
That power check matters because big GPUs need stable support. Also, review your motherboard’s PCIe version so your card runs at full speed and your build feels like it truly belongs together.
Avoid Storage Compatibility Problems
Before you buy storage, make sure your drive matches the motherboard’s interface, whether that’s SATA or M.2 NVMe.
You should also check each M.2 slot carefully, because some boards limit speed, length, or shared lane use with other ports.
Provided that you catch these details early, you’ll save yourself a lot of stress and avoid a build that won’t work the way you expected.
Drive Interface Matching
Because storage problems can feel sneaky, you should start beginning by matching each drive to the motherboard’s exact interface. That keeps your build stress low and helps you feel confident, not left out, when everyone else powers up smoothly. Check storage bus standards first, then confirm whether your case needs drive bay adapter options for older or smaller drives.
- Match SATA drives to SATA ports on the board.
- Check IDE or legacy support if you’re reusing older hardware.
- Confirm your power supply has the right drive connectors too.
- Measure the case bays so the drive fits without awkward surprises.
These steps work together. When you match ports, power, and mounting, you avoid the kind of mismatch that makes a build feel frustrating. You deserve a setup that fits together like your community does.
M.2 Slot Limits
Storage fit doesn’t stop at SATA ports, and M.2 drives can trip you up provided you don’t check the slot details at the outset. You need to confirm whether your board supports NVMe, SATA M.2, or both, because the wrong drive simply won’t work. You’ll also want the right key type and length, like 2280, so everything seats properly.
Next, watch for M.2 lane sharing. On many boards, using one M.2 slot disables certain SATA ports or reduces PCIe bandwidth for other devices. That’s where M.2 slot saturation can sneak in and make your build feel confusing. You’re not alone when that sounds messy.
Check the motherboard manual, map each slot’s limits, and plan your storage early. That way, your system works together, and you stay confidently in the builder crowd.
Check PSU Connectors and Power Delivery
While a motherboard might look like the main match point, your PSU has to supply the right connectors and clean, steady power or the whole build can turn into a frustrating mess. To keep your system feeling solid and reliable, check both PSU wattage matching and connector type compatibility before you buy.
- Confirm the 24-pin motherboard cable and CPU power plug match your board.
- Check whether your GPU needs extra PCIe or 12VHPWR power leads.
- Make sure the PSU can handle peak loads, not just basic startup demand.
- Pick a well-built unit that delivers stable power under gaming or work stress.
This step matters because every part depends on steady energy. Whenever your PSU fits your board and parts correctly, you join the group of builders who avoid crashes, boot failures, and painful last-minute returns.
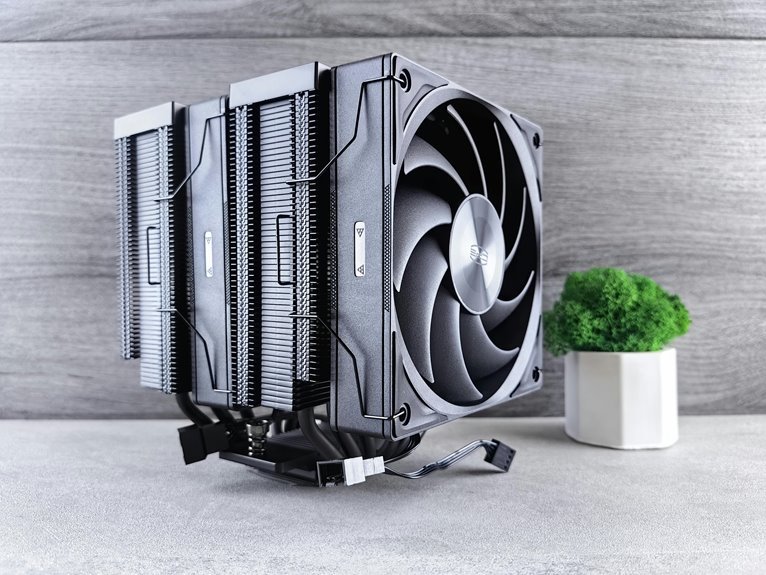
Check Cooler Fit and RAM Clearance
Even though your CPU and motherboard match perfectly, a bad cooler fit or tight RAM clearance can still stop your build cold. Before you buy, compare your cooler clearance with the case limit and check the motherboard layout around the memory slots. Tall heat spreaders can clash with large air coolers, so ram height matters more than many initial-time builders expect.
| Part | What to check | Why it matters |
|---|---|---|
| Air cooler | Socket support, cooler clearance | Prevents side panel or RAM conflicts |
| RAM sticks | ram height, slot position | Avoids blocked slots |
| Motherboard | CPU socket area, DIMM spacing | Confirms parts work together |
You’re not alone when this feels tricky. Many builders in the community run into it. Use manufacturer specs, photos, and build reviews to spot trouble beforehand and keep your setup stress-free.
Check Front Panel and USB Headers
How often do builders get everything right, then hit a wall because the case cables don’t match the motherboard headers? You’re not alone. Small plugs can stall a great build fast, especially as front panel wiring and ports vary between cases and boards. Before you buy, compare manuals and product photos carefully.
- Check the power switch, reset, HDD LED, and power LED pins.
- Confirm the usb header layout for USB 2.0, USB 3.0, and USB-C.
- Make sure your case actually has matching front I/O cables.
- Verify header placement, so short cables can reach cleanly.
This step keeps your build feeling smooth, not frustrating.
Once your buttons, lights, and front ports work on day one, you feel like part of the club that gets it right.
Use This Motherboard Compatibility Checklist
Before you click buy, use a simple motherboard compatibility checklist to catch the problems that ruin a build after the parts arrive. First, match your CPU socket and chipset, then confirm RAM type, speed, and capacity support. Next, check your GPU slot, case form factor, cooler clearance, storage ports, and power supply connectors.
Then move from basic fit to smarter checking. Use compatibility checklist tools like PCPartPicker, motherboard QVL pages, and real user build reports. They help you spot hidden issues fast, so you feel confident, not left out of the PC building crowd. Add bios update planning if you’re pairing an older board with a newer CPU. Also verify USB headers, front panel connections, and PSU wattage. When every part lines up, your build feels less stressful and more like it truly belongs together.
Frequently Asked Questions
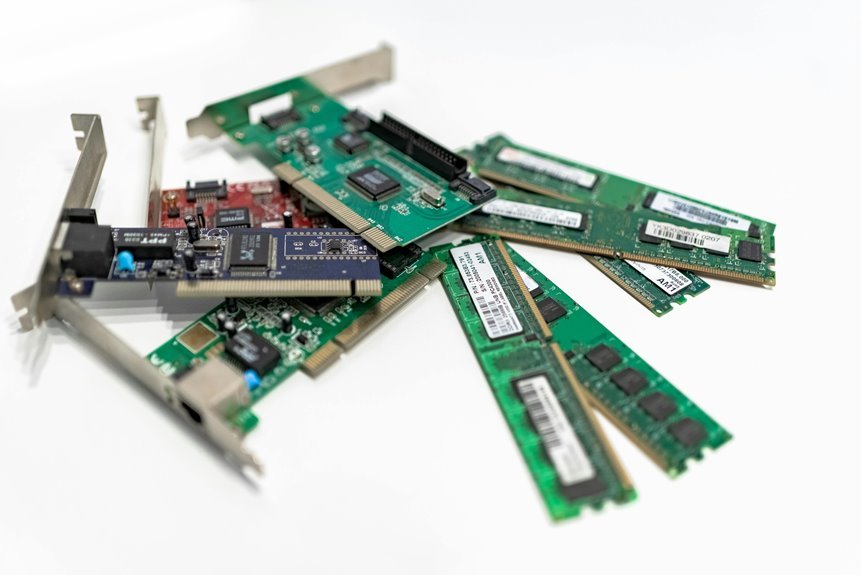
Can Motherboard Wi-Fi Be Upgraded Later if the Board Lacks Built-In Wireless?
Yes. If your motherboard does not include built in wireless, you can add Wi Fi later with a PCIe Wi Fi card or a USB Wi Fi adapter. That lets you connect to a wireless network without replacing the motherboard.
Do Motherboard Audio Codecs Noticeably Affect Gaming and Music Quality?
Higher quality onboard audio can slightly change what you hear. Cleaner output can make music sound more detailed and can help positional cues in games feel more precise, especially with capable headphones. In most setups, though, better speakers, headsets, or an external DAC make a far more obvious difference than the motherboard codec by itself.
How Long Do Motherboard Manufacturers Typically Provide BIOS Updates?
Most motherboard makers provide BIOS updates for about 3 to 5 years. Higher end models sometimes receive support for a longer period. Update releases are usually more frequent near launch, then become less common and focus on security patches, stability improvements, and support for newer CPUs.
Is Buying a Used Motherboard Safe for a New PC Build?
Yes, but proceed carefully since a used motherboard can fail in ways that are hard to spot. Check for board testing results, confirm CPU socket and BIOS compatibility, and buy only from sellers who clearly document condition, return terms, and proof that the board works.
Do Motherboard Aesthetics Matter for Performance or Only Appearance?
Motherboard aesthetics shape how a build looks, not how fast it runs. Real performance comes from component quality, chipset features, cooling, and compatibility. Even so, matching colors, finishes, and lighting can make a system feel intentional, personal, and satisfying to show off.