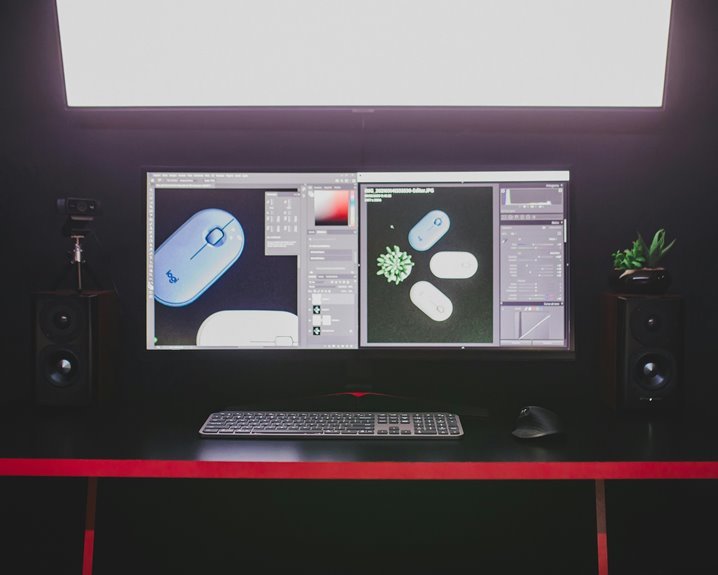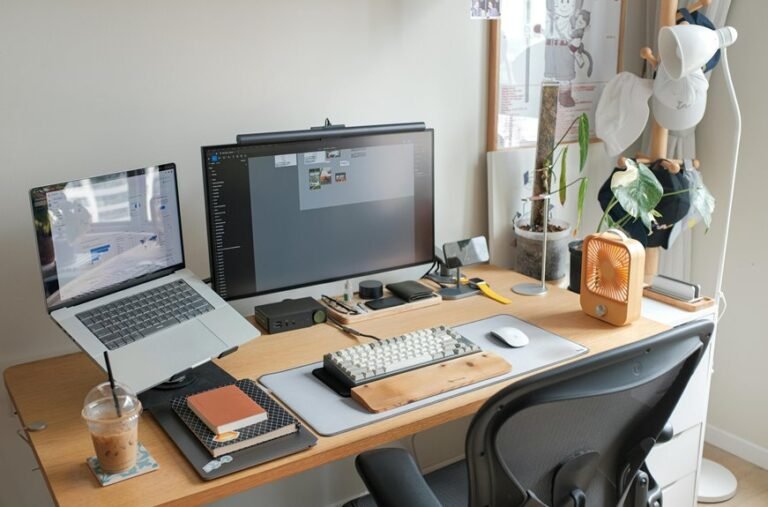
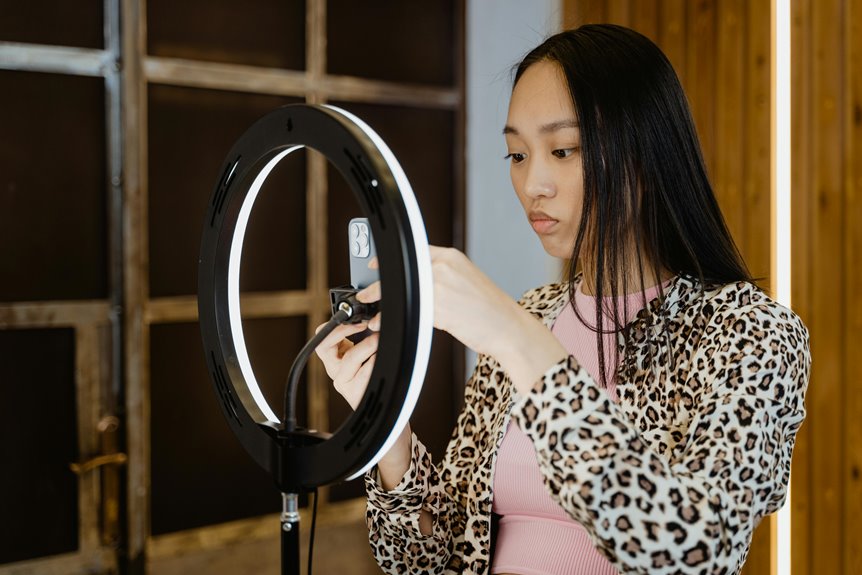

Good streaming lighting makes your video look cleaner, calmer, and more professional. A main light placed slightly to the side at eye level gives your face natural shape. Fill and back lights soften shadows and help you stand out from the background. The best setup comes from balanced color, softer light, and steering clear of harsh glare.
What Good Streaming Lighting Looks Like
Good streaming lighting starts with a setup that makes your face clear, soft, and easy to read on camera. You want light that flatters you, not light that fights you. Whenever your setup feels balanced, your lighting aesthetics look polished, and your background mood feels calm and welcoming. That helps viewers relax and feel like they belong with you.
Good lighting shows your features without harsh glare or deep shadows. It keeps your skin tone natural and your eyes bright. You’ll also notice that your space feels more put together, even though your room is simple. Soft light gives you a friendly look, while steady brightness makes your stream easier to watch. With the right feel, you come across as confident, warm, and ready to connect.
Choose Your Main Light Placement
Place your main light a little off to one side and near eye level so it shapes your face without blasting you head-on. Keep it close enough to give you soft, even light, but not so close that it creates bright hot spots or harsh shadows.
Whenever the shadows feel sharp, nudge the light higher, lower, or farther back until your face looks natural and calm.
Light Angle Basics
Ever wondered why some stream setups feel calm and polished while others look harsh or flat?
You can fix that by placing your main light with care. Keep it near your camera height, then nudge it to a gentle side angle so it wraps your face instead of blasting it straight on. That small shift helps your eyes look relaxed and your features feel natural. If the light sits too far forward, your image can look stiff; if it leans slightly off center, you get softer shadows and a friendlier mood.
Think of it like joining a good group photo, where everyone looks included. Start simple, watch your screen, and make tiny moves until the light feels like it belongs with you.
Distance From Camera
As you choose how far your main light sits from the camera, you shape both the mood and the comfort of your stream. Keep it a little off to the side so your camera framing feels natural, not stiff. As the light stays too close to the lens, it can flatten your face and make the shot feel less welcoming.
A bit of space helps your features look calm and clear, and it gives you room to adjust your chair, mic, or props without crowding your setup. Consider lens proximity as part of the whole scene, not just the lamp. You want the light close enough to support you, but far enough to let your stream feel easy, warm, and like a place people want to stay.
Avoiding Harsh Shadows
To keep your stream looking calm and clear, your main light needs smart placement, not just good brightness. Put it slightly above eye level and a little off-center from your camera, so the light wraps your face instead of blasting it flat.
This simple shift helps shadow softening and gives you better facial contour control, which makes your features look natural on screen. Next, angle the light toward the side of your face, not straight at it. That way, you keep depth without dark patches under your nose or chin.
Should the shadows still feel sharp, move the light closer and lower its power a bit. You’ll look more relaxed, and your audience will feel that easy, welcoming vibe too.
Add Fill and Back Lights for Balance
After you place your key light, add a fill light on the opposite side to soften harsh shadows and keep your face looking natural. Set it lower, so it supports your key light instead of stealing the show. This simple move gives you shadow balance, which helps viewers feel like they’re seeing the real you, not a harsh screen version.
Then add a back light behind you, aimed at your shoulders or head, for background separation and a cleaner edge.
- Use gentle brightness.
- Keep the fill light close to eye level.
- Place the back light slightly behind you.
- Check how your outline looks on camera.
With these two lights, you’ll look more polished, and your stream will feel warmer and more welcoming.
Choose a Three-Point Lighting Setup
A three-point lighting setup gives you a clean, balanced look that feels calm and professional on camera, even though your desk setup is tiny.
You start with the key light, place it a little off-center, then add a softer fill light on the other side. After that, you set a back light behind you to add depth and keep you from blending into the wall. These basic lighting principles help your face stay clear and friendly, so viewers feel at ease with you.
Whenever you compare equipment selection options, choose compact lights that fit your space and let you adjust brightness.
Should you only have one light, use the key light initially. That simple choice still helps you look like you belong on stream.
Set the Right Color Temperature
Color temperature can change the whole feel of your stream, so you want it to work with your face instead of against it. When you aim for color matching, your lights and camera read you as one clean look, not a mix of odd tints. A steady temperature balance also helps your audience feel at ease, like they’re in the room with you.
- Start with 4000 to 5000 K for a natural white tone.
- Match every light to the same setting so skin looks even.
- In case your screen feels cool, add a warmer light to soften it.
- In case the room feels too yellow, shift toward neutral white.
That small tune-up can make you look more polished, more welcoming, and more like you belong on screen.
Avoid Harsh Shadows and Glare
Even with the right color temperature, your stream can still look rough when the light hits your face the wrong way. You can fix that using moving your key light a little off to the side, then checking your screen for dark patches and bright hotspots.
Use shadow softening with a diffuser, a thin curtain, or a softer bulb so your features stay clear but gentle. For glare control, tilt lights away from glasses, shiny skin, or glossy desks, and lower the brightness until the highlights stop shouting.
Whether one side still looks too dark, add a weak fill light to keep your face even. Small changes help you look calm, welcome, and camera ready, so viewers feel like they’re right there with you.
Light Small Rooms Without Overdoing It
Whenever you light a small room for streaming, less really can do more, because too much light bounces around fast and makes the space feel flat or harsh. You want a small room mood that feels warm and close, not washed out.
Start with one soft key light, then add only what helps your face and background feel balanced.
- Place the light a little off center.
- Keep brightness low enough for comfort.
- Use compact light control to shape shadows gently.
- Close blinds and let your screen stay calm.
That way, you fit in with your own space instead of fighting it. Provided you add a second light, keep it weaker and softer. Small rooms reward restraint, and your stream can still look polished and inviting.
Fix Common Streaming Lighting Problems
Bad lighting can make a stream feel off fast, but the positive news is that most problems are easy to fix once you know what to look for.
Start with light troubleshooting by checking shadows, glare, and dull skin tones. If your face looks harsh, move your key light a little higher and off to the side. If one cheek fades away, add a softer fill light on the other side.
Then use lighting troubleshooting to tame bright backgrounds and flat shots with a back light or a dimmer bulb. Keep your colors matched, and aim for neutral white light so your setup feels calm and welcoming.
Close blinds, cut extra room lights, and adjust one change at a time until your stream looks like you belong on screen.
Frequently Asked Questions
How Do I Light a Green Screen Properly?
Place two soft lights at matching angles so the screen reads evenly from edge to edge. Keep the subject several feet forward, then shape the person with a key light and a back light. Watch for bright patches, keep the green tone consistent, and control spill on skin, hair, and clothing for a cleaner composite.
What Lights Work Best for Outdoor Streaming Setups?
For outdoor streaming, use a compact LED panel or a battery powered softbox. Both are easy to transport, run without wall power, and produce soft light that keeps your face clear on camera. Add a diffuser to reduce harsh shadows and keep the image consistent as the light changes.
How Can I Hide Wires for a Cleaner Camera Frame?
Tuck wires behind furniture and route them with clips, sleeves, or adhesive channels to keep the camera frame clean. Since 68% of viewers notice clutter, a tidy setup makes your space look more intentional and professional.
Which Lighting Setups Suit Multiple People on One Stream?
Use two matched key lights placed to cover each side of the frame, then add a soft fill light to keep faces evenly lit across the group. For larger groups, use broad front lights or overhead soft lights so every person stays clearly visible without uneven shadows.
How Do I Sync Lighting Effects With Stream Alerts?
Connect your lighting software to your alert platform, then assign specific color changes and chat based cues to each event. Set flashes, fades, and pulses to match follows, subs, or raids so every alert feels immediate and visible.